Getting Started With GitHub
GitHub is a useful tool for collaborating on code and software documentation. It streamlines version control and keeps files accessible for your whole team.
Using GitHub Desktop is the most beginner-friendly way to contribute to a project on GitHub, as it provides a graphical user interface that allows you to easily push changes to the web.
Once you download and set up the application, you'll be able to view the repositories you're working with and track changes to your files. A repository is a space on GitHub where your project files and change history are stored.
This guide will teach you how to contribute to an open-source project on GitHub using GitHub Desktop.
Cloning a repository
Navigate to the repository of the GitHub project to which you would like to contribute.
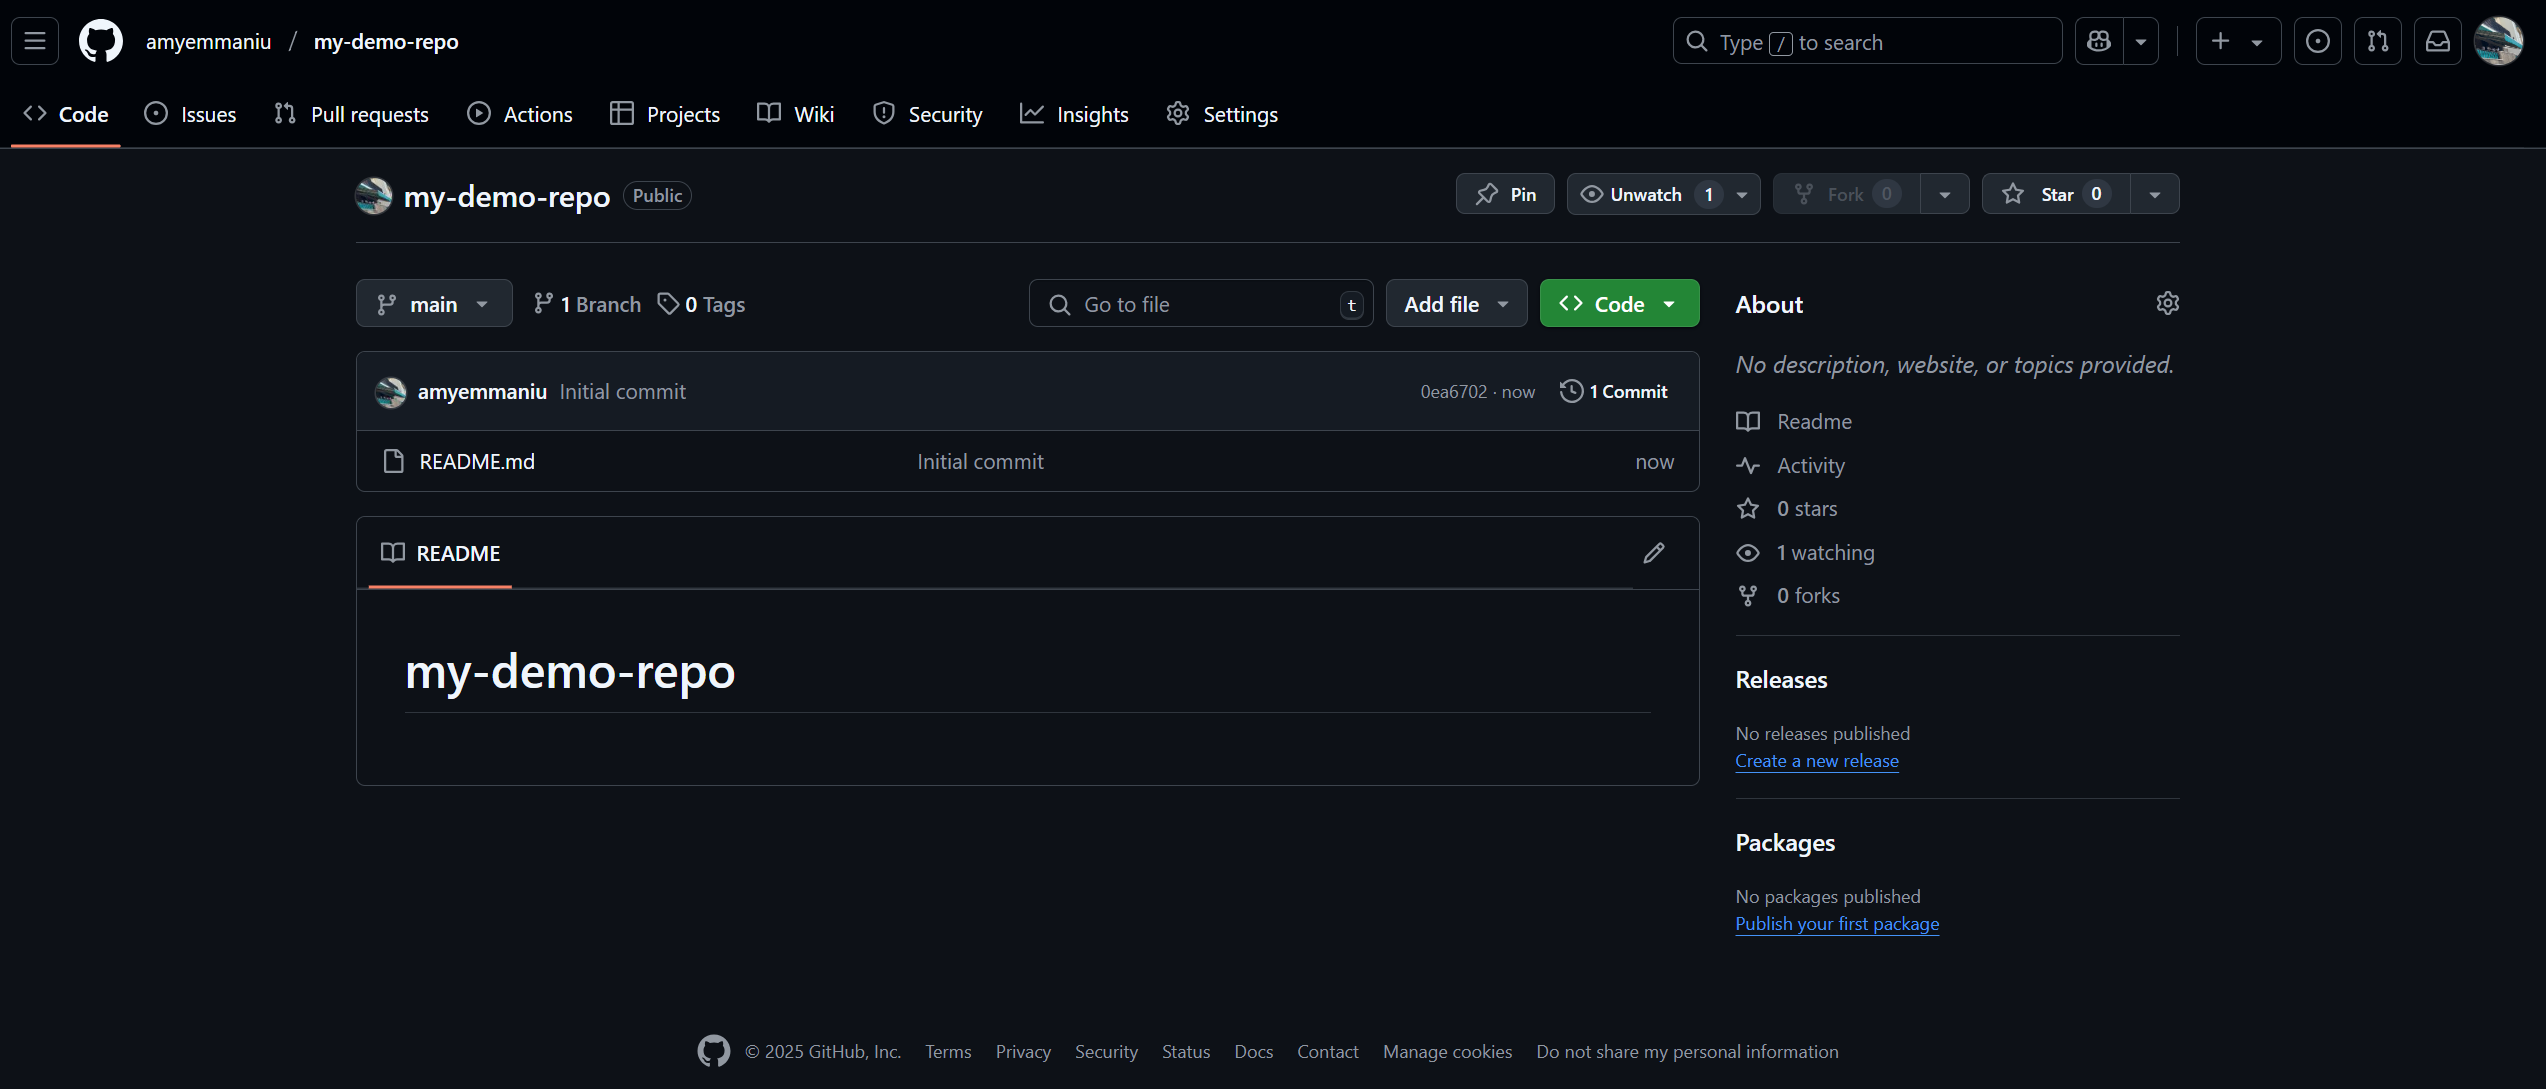
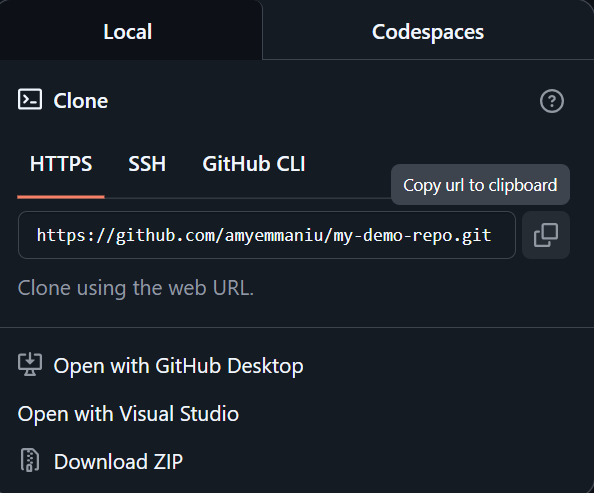
Click on the Code drop-down and copy the HTTPS web URL by clicking on the Copy url to clipboard button on to the right of the URL.
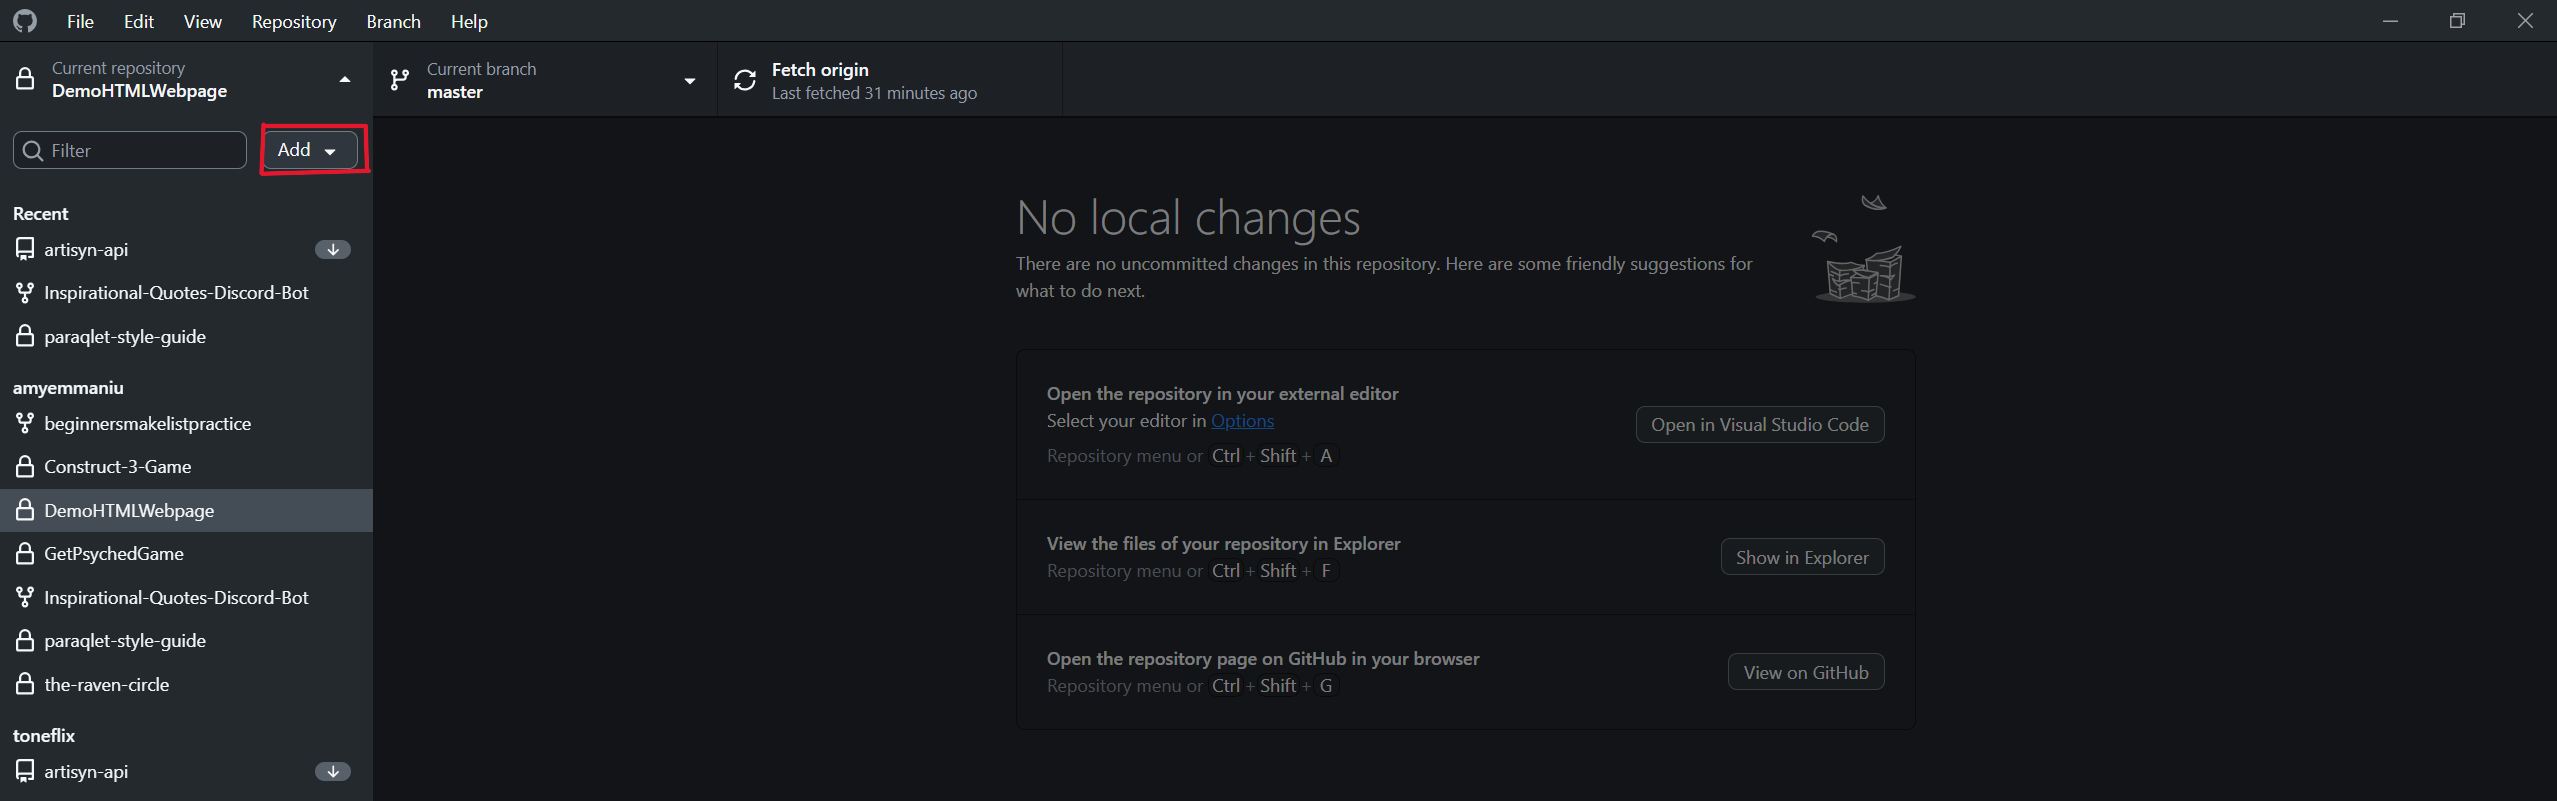
Open the GitHub Desktop application and click Current repository > Add > Clone repository.
Cloning a repository copies the repository from GitHub onto your computer. Changes made in the cloned repository will automatically sync with the online repository when pushed.
By contrast, forking a repository creates an independent copy of the repository on your computer, and any changes you make will not automatically be synced when pushed. Instead, you will have to create a pull request—a way to communicate your changes to the repository owner—and have it be reviewed and accepted in order to see your changes reflected in the original repository.
If you clone a repository you do not have write access to and attempt to push a change to the repository, GitHub Desktop will create a fork for you.
In the Clone a repository tab, click on the URL tab and paste in the repository's URL. Then, select the local path (the place where the repository will be stored on your computer) and click Clone.
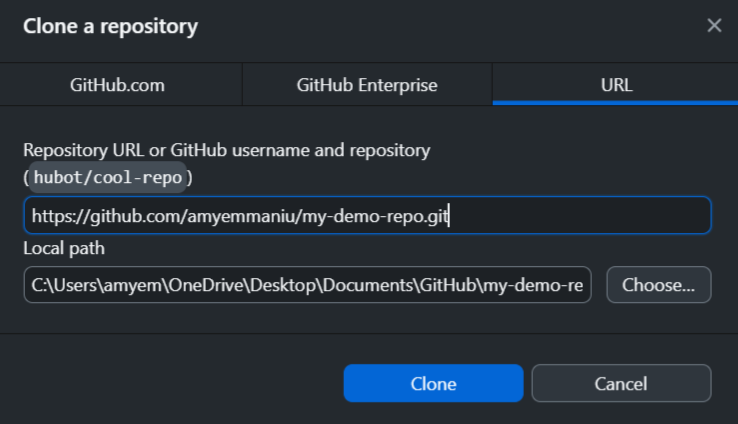
Now, you have a copy of the project on your computer and can make contributions.
Contributing to a project
After you've made changes to the project, open GitHub Desktop and navigate to the project's repository. You should see the changes you made on the right-hand side of the application window, and the files you changed on the left.
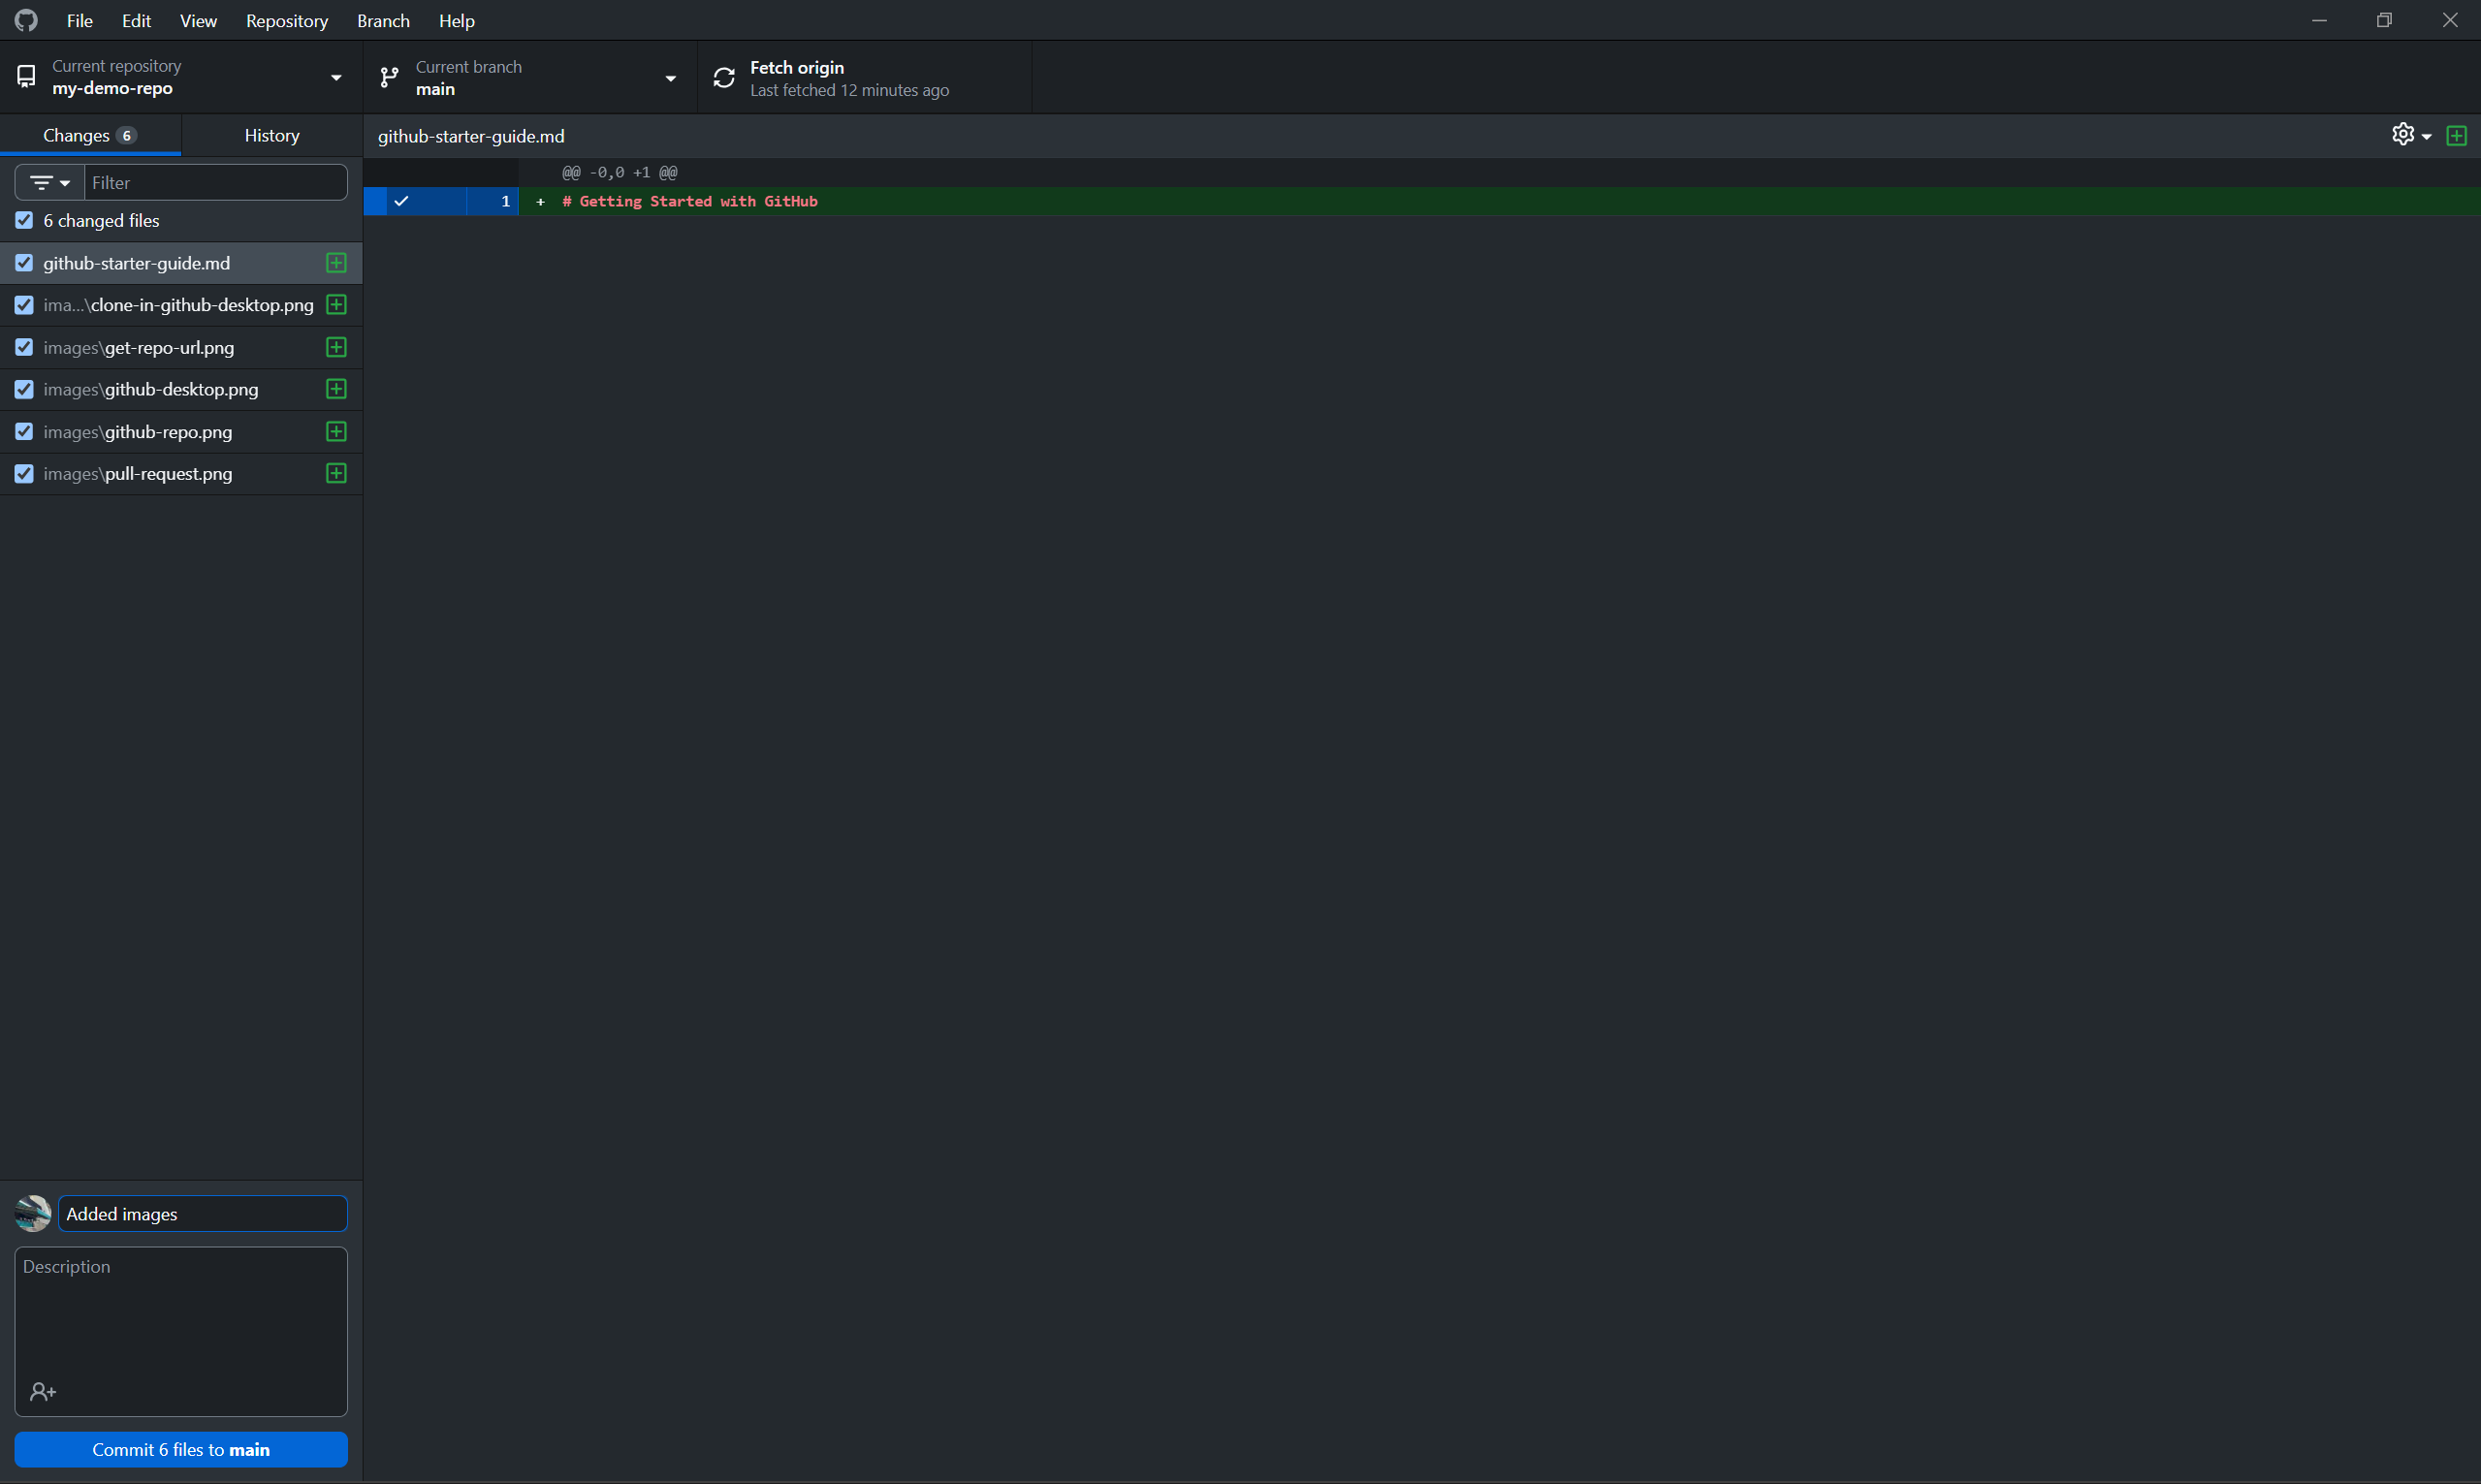
Write a summary of your changes and an optional description. Use the checkboxes on the left to choose which files to commit. Then, click Commit X files to main.
To avoid version conflicts, make sure you don't have other Git applications—such as github.com—open as you commit changes.
If you need to undo a commit, navigate to the History tab of your repository, right-click the most recent commit, and click Revert changes in commit. Your modified files will revert to the state they were in at the most recent commit. Review the changes and commit them again.
Note how the button at the top originally called Fetch origin is labeled Push origin once you commit your changes. Press this button to send the changes from your computer to the GitHub server.

Creating a pull request
Navigate to the repository on GitHub on your browser and click on the Pull requests tab. Click on New pull request.

Use the dropdowns to compare the GitHub repository on your browser with the one on your computer. Click on Create pull request to submit your changes for the owner of the repository to review.

Each time a contributor opens a pull request, you'll need to ensure the changes they made are reflected on your computer. To do so, open GitHub Desktop and navigate to the repository you wish to update. Click on Pull origin.

Now the files on your computer are up-to-date and you can continue working on them.
Conclusion
That's all you need to know to contribute to an open-source project on GitHub. To learn more about GitHub, check out GitHub's official documentation.